Make and use themes with WinterBoard
Section 28: Whitoken theme
Page 1 of 3
The Whitoken theme, created by 6MIK, is one of many iNav style themes. An iNav theme is where a graphic overlay is used to cover the majority of the screen (dramatically changing the look of the screen), with only a few application icons showing. Access to other pages of the SpringBoard is accomplished with the use of SpringJumps icons (or swiping). The program Categories is then used to house the rest of your application icons, grouped by type.
 This tutorial can be used for many other similar looking themes as the setup is generally the same.
There are even themes that are created in landscape mode. These are more time consuming to set up
as you must recreate all your icons to be turned on their side to look correct.
This tutorial can be used for many other similar looking themes as the setup is generally the same.
There are even themes that are created in landscape mode. These are more time consuming to set up
as you must recreate all your icons to be turned on their side to look correct.
You can read the thread discussing the Whitoken theme at MacThemes here. If you read all of this thread you will also find several variations of this theme posted as well. There are numerous things you can do to change the look of this theme. I will cover the basic initial setup, and point out some tweaks you can perform to customize this theme more to your liking. Please do not e-mail me with questions regarding this theme. Post your questions in the thread I linked to above.
While I love the look of themes like this there are some drawbacks. The time it takes to set this all up is substantial (especially if you've never done this before). It could take you an hour or more. There is also a learning curve involved as you try to remember where you categorized all your icons. The Categories program is a little slow, so it will take a few seconds to get into the subfolders where the bulk of your applications icons are stored. Creating icons to match the look of the theme is another challenge. Many people will create icons and post them in the thread to help out, but chances are you won't find everything you need which may impact the overall look of the theme. Many times you are forced to configure the location of your program icons in specific ways (because that is how the theme's creator likes their iPhone set up). You should be able to edit various files to correct this, but it will further add to the time to set up the theme. Whenever you add new applications or want to remove them you may find it easier to shut your theme off in WinterBoard to drag all the icons around to adjust them correctly.
Don't forget you will have to repeat this process everytime you restore or update your iPhone to new firmware!
I wanted to write a tutorial on a theme like this, and this was one of the most visually appealing themes out there. It was recently created, and is still being actively discussed. It has also spawned numerous spin off themes.
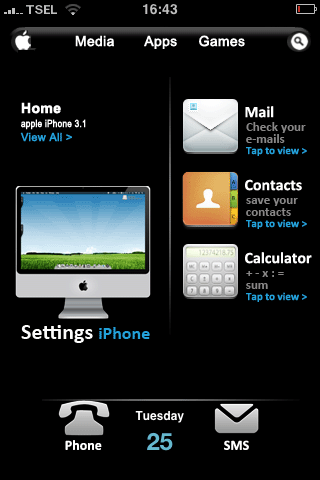
The image above shows what the main screen looks like. There are some inconsistencies in this theme, in my opinion, but they can be sorted out with some basic image manipulation skills. I'll cover this later.
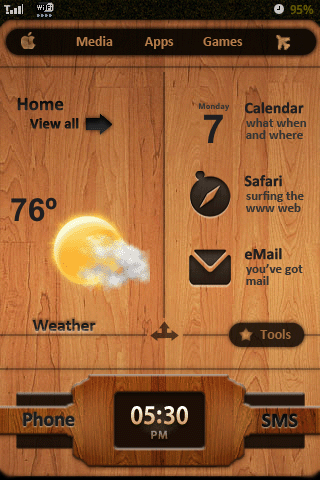
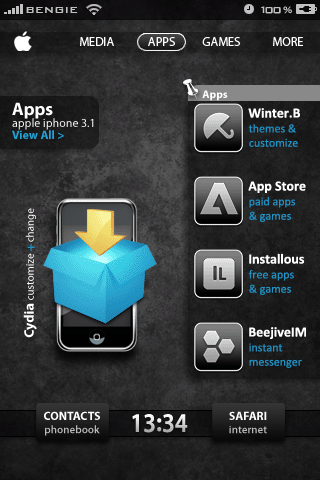
Here are some variations on this theme. If you read the thread above you can learn more about them and where to download them, or what to do to achieve this look.


Here are a couple links with more icons for this theme: Token icons which comes with a template, and Whitoken’s posterous. I hear that Calibri bold may be the font used in icon creation.
Step 1.
Download Whitoken here. I use a free program called UnRarX to decompress files in this format.Step 2.
Launch Cydia. Press the Manage button at the bottom, then select Sources. Press Edit, then press Add. Enter cydia.touch-mania.com, then press Add Source. It may take a minute for this to finish. Press Done to finish.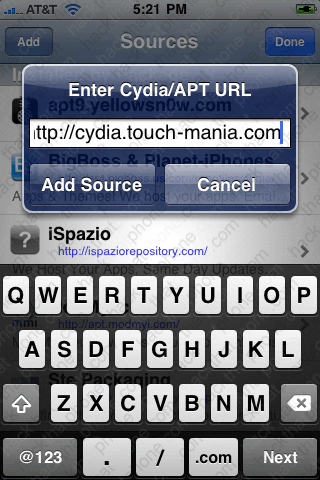
You must now install several programs. You can try placing them all in a queue so you don't have to keep restarting Cydia every time. I find using the queue feature crashes Cydia however. It's easiest to do a search for the programs you must install. Install BlankNull. Then install Categories.


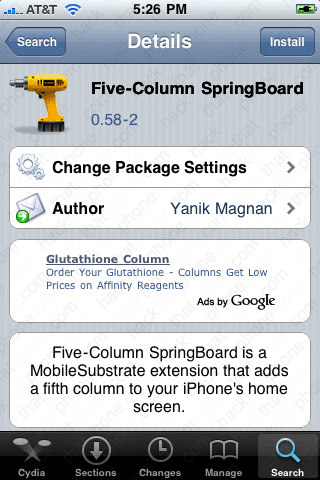
Install Five-Column SpringBoard, and then FiveIRows GUI (which will automatically install WinterBoard).

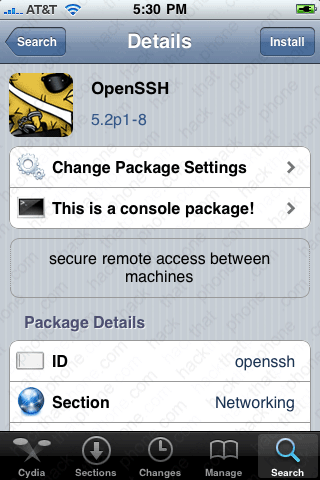
Next install iBlank and OpenSSH.

Finally, install SpringJumps.

Step 3.
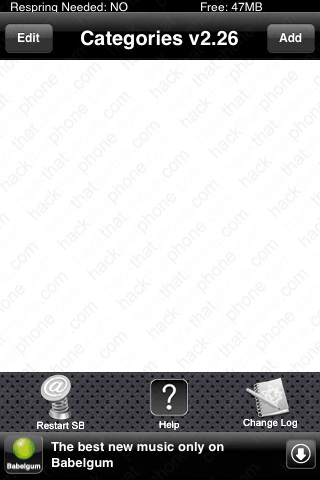
The next step is to use the Categories program to organize all your applications. Categories does crash, so don't worry. The tricky part of this step is not organizing the applications that you need to fit on the various screens. The author of this theme has laid out the pages in the order shown below. If you can lay out your applications in the same order, you will be provided with all the custom icons for them as well. If you can't you may see your original application icon instead. The first program in the list on any given page will use a larger icon (if available), the other three will use a smaller icon.Note: I had to substitute other programs, I noted these in parenthesis.
-
Home
- Settings
- Safari
- Contacts
- iPod
- Photos
- Videos (Camera)
- Remote (YouTube)
- Cydia
- WinterBoard
- Dictionary (App Store)
- Syncinablink (Maps)
- Rolando 2 (Galaga)
- Real Racing (Centipede)
- X-Plane Extreme (Control)
- Payback (Space Invaders Infinity Gene)
- Phone
- Clock
- Text
Media
Apps
Games
Dock

Select any icon you want, you won't see it once the theme is setup anyway. You should have a folder labeled Home, which has zero applications in it.

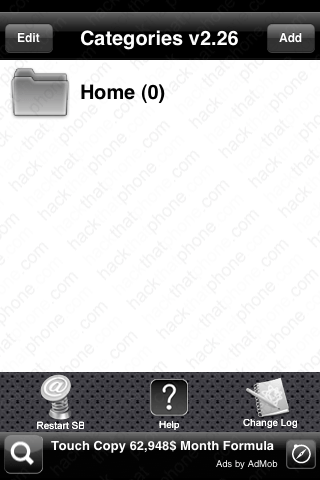
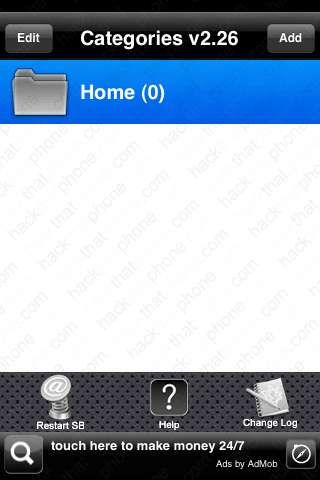
Press the Home folder. Press the Add button. Now select the applications to add. Press Done when you are finished.

Press Done again. You will now see that there are nine applications in my Home folder.

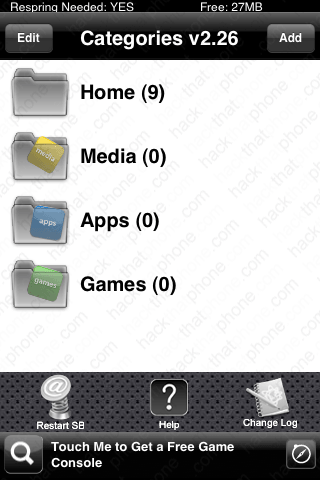
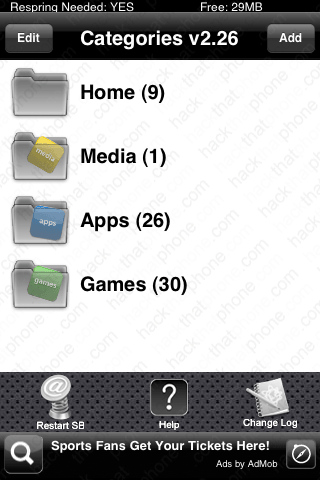
Repeat this process for the Media, Apps, and Games folders. Categories should look similar to this when you are finished. Press the Home button and your iPhone will respring to load your changes.
Step 4.
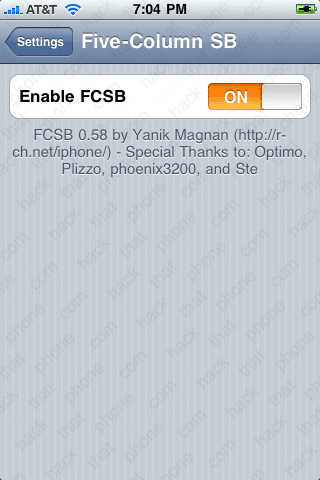
Launch Settings. Scroll down to the Five-Column SB button and press it. Make sure the Enable FCSB is set to ON.