Changing fonts
The iPhone allows you to select from three default fonts: Noteworthy, Helvetica and Marker Felt for programs like Mail and Notes. I will cover two methods of changing fonts in this tutorial: using a program on Cydia called BytaFont, and manually swapping them out using SSH. I found a great collection of iPhone fonts at iPhone Ruler.netAttention
I will be using YummyFTP to upload the files in this tutorial. These instructions can be applied to any files you want to add to your iPhone, provided you already have SSH installed. If you have not installed SSH, or used YummyFTP before, then you must read this tutorial first.Method 1.
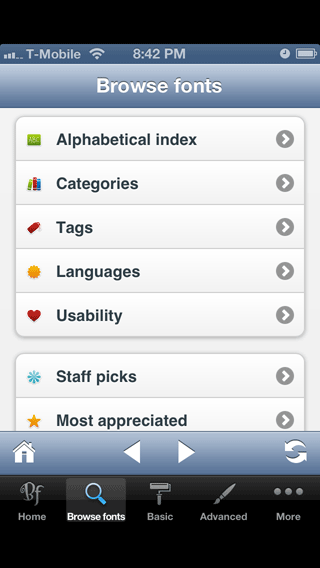
There's a program on Cydia that make changing fonts push button simple - BytaFont.

Launch the program and press the Browse fonts button and you can search all the fonts available. It will even provide a preview of what the font will look like on various screens on the iPhone.
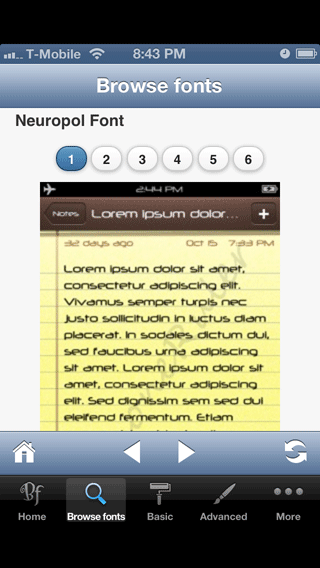
The installation button will be at the very bottom of the page. When you press it it will take you to the install page on Cydia.


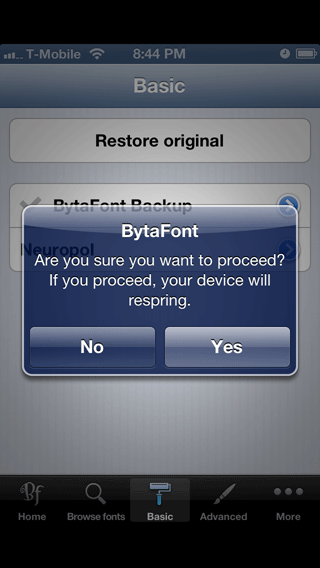
Launch BytaFont again and press the Basic button then select the name of the font you installed. This is the Neuropol font.
Method 2.
Another way to change fonts is through SSH. I've found that if you change the Helvetica, and Helvetica Bold fonts with a customized font, it has the single greatest impact on the look of the iPhone. There are many other fonts you can change as well.Once you have the font you want to install, launch YummyFTP and navigate to /System/Library/Fonts/Cache. I renamed the _H_MarkerFeltThin.ttf file to _H_MarkerFeltThin ORIGINAL.ttf so I could switch it back if I wanted to. This particular font is used in the Notes application.

The font I'm using is Walt Disney. In the files provided there wasn't one named exactly what I needed so I duplicated the MarkerFeltThin.ttf file and renamed it _H_MarkerFeltThin.ttf I then copied it over to the iPhone. Then respring your iPhone or reboot it.

Here's my before and after.


